How To Screed A Floor?
Screeding a floor is one of the most common tasks in the construction industry, and along with concrete, screed is perhaps one of the most regularly used materials.
Whether you need to level an uneven service, are looking to install underfloor heating or are simply carrying out renovations to a domestic kitchen or bathroom, utilising screed is a versatile way to produce a uniform and consistent finish on any surface.
In addition to its effectiveness and fantastic versatility, the process of screeding a floor is actually fairly straightforward even if you’ve never done it before. While you might want to turn to the professionals to carry out the work, most competent DIYers are more than capable of screeding a floor provided they follow the correct instructions and guidance.
Here at Concrete Supply UK, we supply quality screed mixes to customers across the UK, tailoring our products specifically to their needs to ensure they achieve the desired result every time. With this in mind, our team of experts has an excellent understanding of how to handle screed for all types of applications.
In this article, our team will answer the question ‘how to screed a floor?’ providing you with a handy step-by-step guide to the task.
Read on to find out more.
What is screed?
Before we delve into the details regarding how to properly screed a floor, let’s first establish specifically what screed actually is.
As previously mentioned, screed, along with concrete, is perhaps one of the most commonly used materials in the construction industry. Primarily, screed is used to create a smooth, even finish for which the final flooring material will be placed on top of. As well as this, it can be used as a flooring option in its own right, particularly in industrial environments.
Once the screed has been laid, tiles, carpet, laminated and all other flooring types can be easily installed. The screed will provide peace of mind that the floor is level and there are no inconsistencies or bumps to worry about. With this in mind, while people may sometimes choose not to use screed, it is always worthwhile to guarantee this smoothness. It’s also extremely durable and robust and so offers excellent protection.
You’re likely to find screed floors in a wide range of commercial and industrial environments including:
- Warehouses
- Factories
- Supermarkets
- Garden centres
- DIY stores
- Logistics halls
- And more
All locations where heavy footfall is expected should consider screed flooring.
Benefits of screed
Screed is typically made from cement, water and sand (sometimes other aggregates may also be added to the mix). It offers several benefits in construction and flooring applications.
This includes:
- Smooth surfaces – Undoubtedly, the biggest advantage of screed is that it provides a smooth and level surface for the installation of various floor coverings such as tiles, carpets, wood, vinyl and much more. As well as helping to create a uniform and consistent finish, it also helps to enhance the aesthetics of the surface.
- Levelling and alignment – Screed also allows for the levelling and alignment of uneven or irregular subfloors, providing a stable base for subsequent flooring materials. This is especially important during renovations or new constructions where the subfloor may not always be perfectly level.
- Enhanced structural integrity – When properly installed, the screed can enhance the structural integrity of a flooring system. This is because it provides it with the appropriate support and stability. It helps to distribute loads evenly across the floor’s surface, reducing the risk of damage or failure.
- Improved thermal conductivity – Certain types of screed, such as liquid screed or screed with additives, can help to enhance thermal conductivity. This makes it an effective choice for use in underfloor heating systems, promoting efficient heat transfer and distribution.
- Sound insulation – Screed can contribute to sound insulation properties, reducing the transmission of noise between floors. This is particularly beneficial in residential, commercial and industrial properties where noise control may be deemed important.
- Moisture control – Properly formulated and installed screed can also act as a barrier against moisture ingress from the subfloor, preventing issues such as dampness, mould and deterioration of flooring materials.
Overall, screed offers a wide range of benefits, making it a popular choice for preparing and finishing floors in construction projects of all scales and types.
Different types of screed
There are a whole host of different types of screed on the market, and it’s important to choose the right type for your project.
At Concrete Supply UK, we have access to any screed you need and this includes:
Bonded screed
The most popular screed available, this type is fully bonded to the concrete’s sub-base via the way of bonding agents and primers.
Bonded screed is usually the preferred choice of those who are looking for a thinner screed mix.
Unbonded screed
Unbonded screed is laid over the top of polythene sheets or damp proof membranes, meaning the concrete base is separate from the final layer of screed. Normally, unbonded screed is used for older concrete sub-bases.
Floating screed
Placed above damp proof membranes so it gives a floating illusion, floating screed is separated from the original sub-base. It can also be laid on top of thermal insulation systems.
Underfloor heating screed
As the name suggests, underfloor heating screed is laid on top of underfloor heating systems and pipes. Often, it is selected as an alternative to other types of insulation.
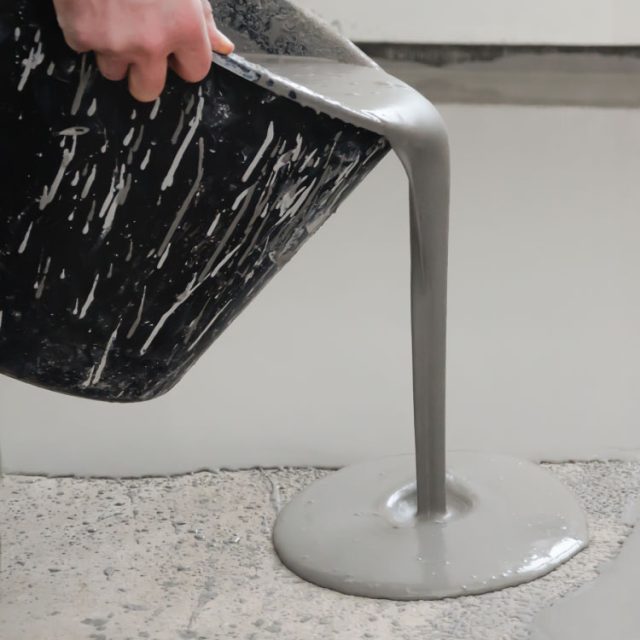
Liquid screed
An alternative type of screed, liquid screed is a thicker choice that can be poured straight from mixing trucks into the site.
How to screed a floor?
Screeding a floor must be performed correctly in order to achieve the best results. By following the below steps, you’ll be able to screed a floor effectively and achieve the look you want.
Prepare the area
Before pouring the screed, you need to ensure you’ve prepared correctly. This includes measuring the area to ensure you have the correct quantity of screed, cleaning the area to remove any dirty, dust or debris, mix the screed (only if you’re using unbonded screed) and reinforce the layer your screed will sit on (again, if you’re using unbonded screed).
Divide the floor area
Next, you should divide the surface into different areas.
You can do this by using dividers, and this will make it easier to concentrate on one area at a time rather than attempting to do the job all at once.
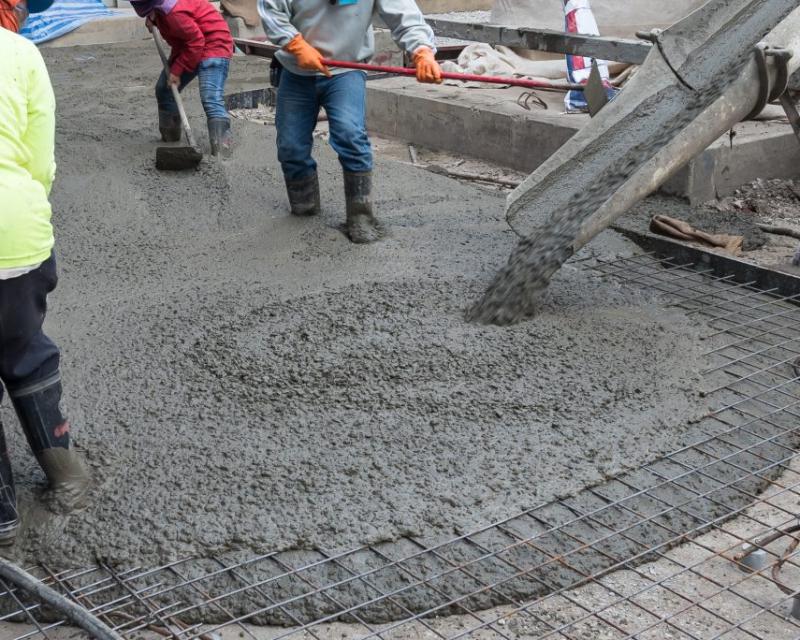
Pour a layer of screed
First, pour a layer of screed in the section that is furthest away from the room’s entrance. You should also use a trowel to move the mixture into the space, and use a screed board or straightedge to compact it down.
As you do this, you may come across the common problem of poor compaction. This is why you shouldn’t proceed until you’ve fully compacted the mix otherwise you will likely come across further problems later on.
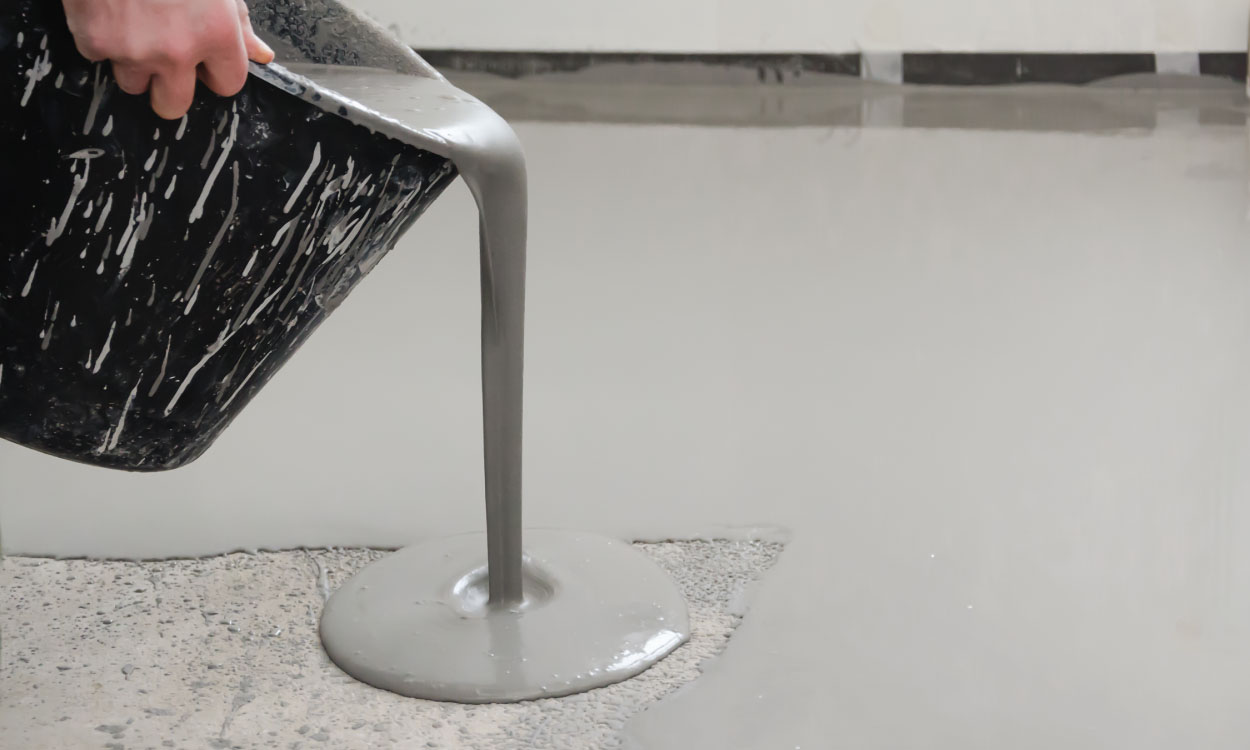
Level the floor with screed
If the screed you’re working with is not self-levelling, you will need to do this yourself. Use a straightedge or piece of timber and move it from side to side over the poured mix until it has been levelled.
Sometimes, screed will be self-levelling and contain additives that autonomously do this, so check what type of screed you’ve purchased to check what you’re working with.
Repeat this process
Do the above steps again until the entire room and every section has been covered with screed and has been properly levelled.
Cure the screed
Next comes the curing process.
This is the process that gives the floor its durability and robustness and essentially sees it get harder and gain the strong properties that make it such a popular building material. Technically, the curing process never ends, and it will continue to cure for the duration of its lifespan – it’s this that makes screed such a great choice for longevity.
You should close all doors and windows in the room, helping to keep a stable temperature that makes the curing process take place without any issues. Usually, to be fully cured, it will take up to 28 days but within a week you will be able to work with the screed floor and carry out any other necessary work.
Let the floor dry
Even when the floor has been cured, it may still not be fully dry.
With this in mind, make sure enough time has been given for the floor to become fully dry. Screed normally drys within 24 to 48 hours but this process can be sped up by using screed that comes with certain additives. Fast drying screed can dry within 12 hours, or sometimes even quicker than that.
Avoid vehicle traffic and heavy footfall for a period of up to three weeks.
How long to screed a floor?
The pouring process should only take you around 30 minutes to an hour, but the curing and drying is what takes a bit longer before the screed is usable.
As mentioned above, all in all, the screed flooring process will be completed after around 28 days to one month.
At Concrete Supply UK, we regularly supply domestic and commercial customers across the UK with different types of screed, including liquid screed. For more information or to book an order, simply contact us today – our team are on hand to help.